
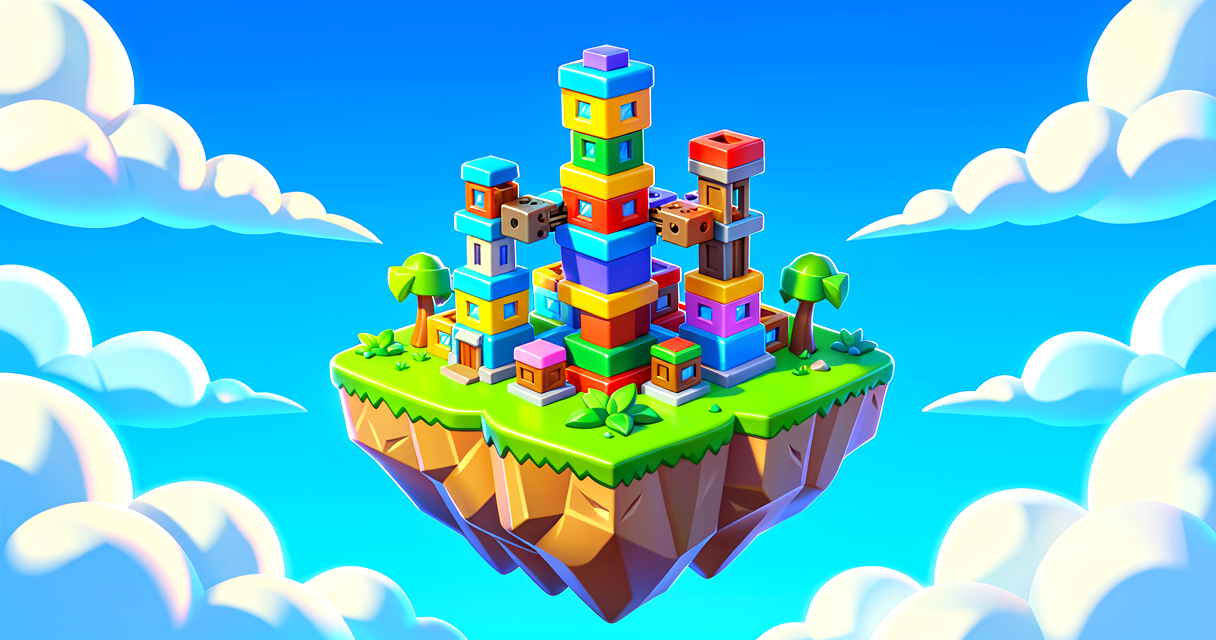
Build Your First LEGO Island (And Actually Know What You’re Doing)
Build Your First LEGO Island (And Actually Know What You’re Doing)
Welcome to the LEGO® Home Builder template, the Fortnite Creative equivalent of a "Hello World" tutorial, but with bricks instead of text. If you’ve ever looked at a finished island and thought, "I could build that, but I don’t know where to start," this is your on-ramp. We’re going to walk through the specific workflow for LEGO islands, explain why your usual Creative devices might be acting weird, and get you building a house before the storm timer runs out.
What You'll Learn
- The LEGO Island Difference: Why some devices are missing and how to work within those constraints.
- Asset Management: How to use LEGO Elements (prefabs, props, minifigures) without breaking brand rules.
- The Build Workflow: Step-by-step construction from foundation to furniture.
- Scene Graph Basics: How LEGO assets are structured as entities and components in UEFN.
How It Works
Building on a LEGO island is like playing Fortnite Creative, but with the cheat codes turned off and a stricter dress code. You’re not just dropping props; you’re assembling a scene graph where every brick, wall, and minifigure is a distinct Entity (a game object) with specific Components (properties like position, rotation, and material).
The "No Devices" Zone
In standard Fortnite Creative, you might rely on triggers, scoreboards, and item granters to make things happen. On a LEGO island, many of these Devices (gameplay objects that control logic) are hidden or unavailable. Why? Because the LEGO template is designed to teach spatial building and asset placement, not complex scripting. Think of it like a sandbox where the physics are simplified so you can focus on architecture. If you need logic later, you’ll switch to Verse, but for now, we’re sticking to the basics: place, rotate, scale, and connect.
LEGO Elements vs. Creative Assets
LEGO assets are pre-built Prefabs (complex objects made of multiple parts) that include LEGO-specific materials. These are distinct from standard Fortnite props because they’re optimized for the LEGO aesthetic and compatibility. You can mix them with standard Creative prefabs, but you need to respect the LEGO Brand Rules. This isn’t just legal jargon; it’s about keeping the aesthetic consistent. You can’t turn a LEGO minifigure into a zombie. You keep it LEGO.
The Scene Graph: Your House is a Family Tree
In UEFN, everything you place exists in the Scene Graph. Imagine your house as a family tree:
- The Root is the island itself.
- The Parent is the house structure.
- The Children are the walls, roof, and furniture. If you move the parent (the house), all the children move with it. If you delete the parent, the children vanish. This hierarchy is crucial for organizing your build. When you place a LEGO wall, it’s not just a wall; it’s a child of the house entity, with its own transform (position/rotation) and material component.
Let's Build It
We’re going to build a simple LEGO house using the Home Builder template. This isn’t just about stacking bricks; it’s about understanding how to place entities and manage their hierarchy.
Step 1: Spawn and Survey
Start in the LEGO Home Builder template. You’ll spawn at a designated point. Look around. You’ll see pre-placed LEGO elements: walls, floors, and a minifigure. These are your starting assets. Don’t delete them yet; they’re your tutorial guides.
Step 2: Place Your Foundation
In the Creative tool menu, switch to the LEGO tab. Here, you’ll find LEGO-specific assets. Select a LEGO Baseplate (a large, flat brick). Place it in the center of your spawn area. This is your Root Entity for the house. In the Scene Graph, this will be the parent of everything you add next.
Step 3: Add Walls (The Parent-Child Relationship)
Now, select a LEGO Wall prefab from the LEGO tab. Place it on the baseplate. Notice how it snaps to the grid? That’s because the wall’s transform component is aligned to the baseplate’s coordinate system. In the Scene Graph, this wall is now a child of the baseplate. If you move the baseplate, the wall moves with it. This is the core of scene graph hierarchy: grouping related objects.
Step 4: Roof and Furniture
Add a LEGO Roof prefab on top of the walls. Then, place a LEGO Minifigure inside. The minifigure is a separate entity with its own animations and interactions. It’s a child of the house, but not necessarily a child of the walls. This flexibility allows you to move the minifigure independently if you want it to walk out.
Step 5: Material and Style
Select the walls and change their Material to a different LEGO color. This updates the material component of the wall entity. Remember, LEGO assets have specific materials that respect the brand rules. You can’t change a red brick to a blue brick if it’s not in the allowed palette. Check the LEGO Brand Rules if you’re unsure.
Step 6: Test and Iterate
Press Play. Walk around your house. Notice how the minifigure can enter and exit? That’s because the doors are separate entities with collision components that allow player interaction. If something feels off, go back to the editor. Adjust the position of the walls or the roof. Remember, you’re editing the scene graph. Move the parent, and the children follow.
Try It Yourself
Challenge: Build a LEGO garage with a car and a minifigure.
- Hint: Use the LEGO Car prefab for the vehicle. Place it inside a structure made of LEGO Walls and a LEGO Roof. Make sure the minifigure is placed inside the garage, not outside. Think about the hierarchy: is the car a child of the garage structure? Why or why not?
- Goal: Create a scene where the minifigure can "enter" the garage (stand inside the walls).
Recap
Building a LEGO island in Fortnite Creative is about mastering the scene graph hierarchy: placing parent entities (like the house structure) and their children (walls, roof, furniture). You’re working within a constrained set of LEGO-specific assets and devices, which simplifies the process but requires attention to brand rules. By understanding how entities and components work together, you can build complex structures that are easy to edit and modify.
References
- https://dev.epicgames.com/documentation/en-us/fortnite-creative/build-lego-home-builder-in-fortnite-creative
- https://dev.epicgames.com/documentation/en-us/fortnite-creative/lego-asset-inventory-in-fortnite-creative
- https://dev.epicgames.com/documentation/en-us/fortnite/build-lego-home-builder-in-fortnite
- https://dev.epicgames.com/documentation/en-us/fortnite-creative/lego-brand-and-creator-rules-in-fortnite-creative
- https://dev.epicgames.com/documentation/en-us/fortnite-creative/building-lego-islands-in-fortnite-creative
Turn this into a guided course
Add build-lego-home-builder-in-fortnite-creative to your free study plan — we'll suggest related pages and stitch the lot into one compile-checked, self-guided lesson with worked examples and quizzes.
References
Original tutorial generated by Verse Island from the Verse/UEFN knowledge base, with references to the Epic Games sources above. Code is validated against the knowledge base.