
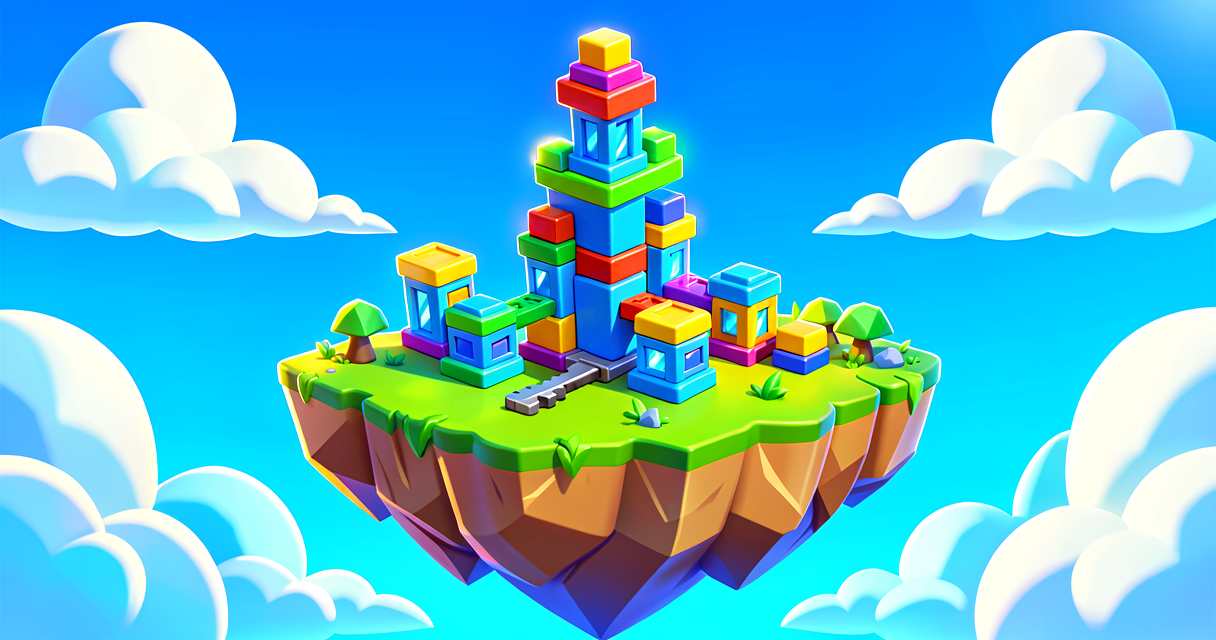
Build Your Own LEGO® Obstacle Course in Fortnite Creative
Unverified — this example may not compile as-is.
The Verse code below did not pass our automated compile check, so it isn't marked verified and is hidden from the guide listing. The explanation may still be useful, but treat the code as a draft and adapt it before use.
Build Your Own LEGO® Obstacle Course in Fortnite Creative
So, you want to build an "obby" (obstacle course). You know the drill: jump, dodge, climb, and try not to die repeatedly while your friends watch in horror. But instead of just placing random bricks, let's actually code the logic behind it. We're going to build a mini LEGO® Obstacle Course where collecting coins triggers the next level, and falling off the map sends you back to the start. No more manual resets—let Verse handle the chaos.
What You'll Learn
- Variables: How to track how many coins a player has collected (like an XP bar that actually matters).
- Events: How to make things happen only when a player touches a specific object (like a trap triggering).
- Scene Graph Basics: Understanding the relationship between the player, the coins, and the "game manager."
- Respawn Logic: Writing code to send players back to the start line when they fail.
How It Works
Before we write a single line of Verse, let's map out the game mechanics using things you already know.
The Scene Graph: Your Island's Family Tree
In Fortnite Creative, everything is part of the Scene Graph. Think of the Scene Graph as the hierarchy of your island. At the top is the Game (the whole island). Inside the Game are Entities (your players, props, devices). Inside Entities are Components (the specific traits, like a "Coin" component or a "Trigger" component).
When you build an obby, you aren't just placing static objects; you are creating a network of entities that talk to each other.
Variables: The "Coin Counter"
In programming, a Variable is a container that holds data that can change. Think of it like a Loot Pool. Before the game starts, the pool is empty (0 coins). As players collect loot, the pool fills up. In our obby, we need a variable to track the Score (number of coins collected). If the score hits 5, the level is complete.
Events: The "Trigger Zone"
An Event is something that happens in the game world that your code can "listen" for. It's like a Proximity Trap. The trap doesn't do anything until a player walks into it. In Verse, we write code that says: "When Player Touches Coin, do this."
The Loop: The "Overtime" Cycle
We'll use a simple check (an If Statement) to see if the player has enough coins. If yes, win. If no, keep playing. If they fall off the map, trigger the Respawn event.
Let's Build It
We are going to create a simple script that:
- Tracks coin collection.
- Checks if the player has collected all 5 coins.
- Respawn the player if they fall off the edge.
Step 1: Set Up Your Island
- Open UEFN and create a new island using the LEGO® Obstacle Course template (or start blank and add some LEGO bricks).
- Place a Player Start device. This is where players spawn.
- Place 5 Item Granter devices. Set them to grant a "Coin" item (or just use a simple prop if you don't have the item ID handy, but for this tutorial, let's assume we are tracking touching a specific prop, which is simpler for beginners).
- Simpler Approach: Let's use Proximity Triggers. Place 5 small, invisible (or visible) LEGO bricks as "Coins."
- Create a Verse Device in the World Outliner. Name it
ObbyManager.
Step 2: The Verse Code
Open the Verse editor for ObbyManager. We need to define our "Game State" (the variables) and our "Rules" (the events).
# This is the main script for our Obby Manager
# Think of this as the "Game Rules" document

using { /Fortnite.com/Devices }
using { /Verse.org/Simulation }
using { /UnrealEngine.com/Temporary/Diagnostics }

# A Verse device must be declared as a class that extends creative_device.
# Think of creative_device as the "base" that every Verse script in UEFN inherits from.
obby_manager := class(creative_device):

    # 1. DEFINE VARIABLES (The Loot Pool)
    # We need a counter to track coins.
    # 'int' means Integer (a whole number, no decimals).
    # 'CoinCount' is the name of our variable.
    # It starts at 0.
    # 'var' makes it mutable so we can change it later.
    var CoinCount : int = 0

    # We need to know how many coins are in the level total.
    # This is a CONSTANT. It never changes.
    # Think of it like the number of rings in Mario Kart: it's always 3.
    TotalCoins : int = 5

    # 2. DEFINE THE PLAYER START (The Respawn Point)
    # We need to tell the code where to send players if they fall.
    # We'll link this to a specific Player Start device in the editor later.
    # '@editable' exposes the field so you can drag a device into it in UEFN.
    @editable
    PlayerStartDevice : player_spawner_device = player_spawner_device{}

    # 3. DEFINE THE COINS (The Trigger Devices)
    # We need a list of all the coin trigger devices.
    # Each "coin" is represented by a trigger_device placed in the level.
    # '@editable' lets you assign all five in the UEFN details panel.
    @editable
    CoinTriggers : []trigger_device = array{}

    # 4. OnBegin: Called automatically when the game session starts.
    # This is where we wire up our events — like setting all the traps
    # before players load in.
    OnBegin<override>()<suspends> : void =
        # Loop over every coin trigger and subscribe to its
        # TriggeredEvent so we know when a player walks into it.
        for (Coin : CoinTriggers):
            Coin.TriggeredEvent.Subscribe(OnCoinCollected)

    # 5. THE EVENT: When a Player Touches a Coin
    # 'TriggeredEvent' fires when a player walks into a trigger_device.
    # The payload is the agent (player) who activated it.
    OnCoinCollected(Agent : ?agent) : void =
        # Add 1 to our CoinCount variable
        # This is like gaining XP. The number goes up.
        set CoinCount += 1

        # Print a message to the screen (Debugging)
        # Think of this as the "Elimination Feed" but for coins
        Print("Coin Collected! Total: {CoinCount}")

        # CHECK IF WIN CONDITION IS MET
        # If CoinCount is equal to TotalCoins...
        if (CoinCount = TotalCoins):
            Print("YOU WIN! Obby Complete!")
            # In a full game, we'd unlock the next area here.
            # For now, let's just celebrate.

    # 6. THE EVENT: When a Player Falls Off the Map
    # Call this from a separate kill-zone trigger_device wired up
    # in OnBegin (see Step 3 notes). The player is sent back to start
    # and the coin counter resets for a true challenge.
    OnPlayerFell(Agent : agent) : void =
        # Send the player back to the start.
        # player_spawner_device.Spawn() teleports the agent to the spawn pad.
        # note: player_spawner_device.Spawn() is the real API for respawning
        #       an agent at a spawner; there is no bare Player.Respawn() call.
        PlayerStartDevice.Spawn(Agent)

        # Reset the coin count for a true challenge.
        ResetCoins()

    # HELPER FUNCTION: Reset the Game State
    # A 'Function' is a reusable block of code.
    # Think of it like a 'Reset Match' button.
    ResetCoins() : void =
        set CoinCount = 0
        Print("Respawned! Coins reset.")```

### Step 3: Connecting the Dots (The Scene Graph)

Code doesn't exist in a vacuum. You need to link the Verse script to the physical devices in your island.

1.  **Link the Player Start**: In the UEFN details panel for `ObbyManager`, you'll see a field for `PlayerStartDevice`. Drag your **Player Spawner** device from the World Outliner into this field. This tells the code: *"When I say 'Spawn', send them here."*
2.  **Link the Coins**: This is the tricky part for beginners. In Verse, you often use **Tags** or **Device Links**.
    *   *Simpler Method for Beginners*: Instead of coding every coin, use a **Trigger Volume** (a large invisible box) around the entire obby area. Set the Verse script to listen to `TriggeredEvent` on that trigger.
    *   *Better Method*: Use **trigger_device** for each coin. Create one trigger per coin prop. Link each trigger to the `CoinTriggers` array in the `ObbyManager` details panel. This is what the code above already does!
    *   *Revised Plan*: Place a **trigger_device** on top of each coin prop. In the UEFN details panel for `ObbyManager`, add each trigger to the `CoinTriggers` array. When a player walks through a trigger, `OnCoinCollected` fires automatically.

    *Revised Code Snippet for a single Trigger Volume approach*:
    ```verse
    # If you only want ONE large trigger zone instead of five individual coins,
    # replace the CoinTriggers array with a single trigger_device field.

    using { /Fortnite.com/Devices }
    using { /Verse.org/Simulation }
    using { /UnrealEngine.com/Temporary/Diagnostics }

    obby_manager_simple := class(creative_device):

        @editable
        CoinTrigger : trigger_device = trigger_device{}

        var CoinCount : int = 0
        TotalCoins : int = 5

        OnBegin<override>()<suspends> : void =
            # Subscribe once to the single zone trigger
            CoinTrigger.TriggeredEvent.Subscribe(OnCoinCollected)

        OnCoinCollected(Agent : agent) : void =
            set CoinCount += 1
            Print("Coin Collected! Total: {CoinCount}")

            if (CoinCount = TotalCoins):
                Print("YOU WIN!")
    ```

### Step 4: Testing It
1.  Press **Play** in UEFN.
2.  Walk into the Trigger Volume area.
3.  Watch the chat log (or the debug print) to see `Coin Collected! Total: 1`.
4.  If you fall off the map, you should respawn at the Player Start.

## Try It Yourself

**Challenge**: Add a "Timer" to your obby. If the player doesn't collect all 5 coins within 30 seconds, the game resets.

**Hint**: You'll need a new variable for `TimeRemaining` and a way to decrease it every second. Think about how a **Storm Timer** works—it counts down, and when it hits zero, something happens. Can you find the Verse function for "Every Second"? (Look for `Sleep(1.0)` inside a loop marked `<suspends>` in the Verse documentation).

## Recap

*   **Variables** are your scoreboards, tracking things like coins collected.
*   **Events** are your triggers, firing code when players interact with the world.
*   **The Scene Graph** is your island's hierarchy, linking devices to your code.
*   **Verse** lets you turn static LEGO bricks into a dynamic, playable game.

Now go build an obby that's actually fun to beat (or at least fun to rage-quit).

## References

- https://dev.epicgames.com/documentation/en-us/fortnite/build-your-own-lego-obstacle-course-in-fortnite-creative
- https://dev.epicgames.com/documentation/en-us/fortnite-creative/build-lego-obstacle-course-in-fortnite-creative
- https://dev.epicgames.com/documentation/en-us/fortnite/lego-templates-in-fortnite
- https://dev.epicgames.com/documentation/en-us/fortnite-creative/lego-brand-and-creator-rules-in-fortnite-creative
- https://dev.epicgames.com/documentation/en-us/fortnite/lego-tips-and-tricks-of-building-in-3d-space-in-fortnite
Verse source files
- 01-device.verse · device
- 02-device.verse · device
Turn this into a guided course
Add build-your-own-lego-obstacle-course-in-fortnite-creative to your free study plan — we'll suggest related pages and stitch the lot into one compile-checked, self-guided lesson with worked examples and quizzes.
References
Original tutorial generated by Verse Island from the Verse/UEFN knowledge base, with references to the Epic Games sources above. Code is validated against the knowledge base.