
The Hero Shot: Making Your Island Look Like a AAA Cinematic with Low Angles
The Hero Shot: Making Your Island Look Like a AAA Cinematic with Low Angles
You know that feeling when you pull off a perfect 360 no-scope, or when you finally clutch a round with 1 HP left? The music swells, the camera zooms in, and you feel like the main character. Now, imagine if your entire Fortnite island felt like that every time someone walked into your lobby.
We're going to build a "Hero Entry" system. When a player spawns into your island, the camera won't just sit there like a boring spectator. It will drop low, look up at them, and make them look like a towering titan ready to conquer the lobby. We're using Low Angles to turn ordinary players into legendary bosses.
What You'll Learn
- The Low Angle: How looking up at a subject changes the vibe from "normal" to "heroic" or "intimidating."
- The Scene Graph: Understanding how devices talk to each other (the "who does what" hierarchy).
- Fixed Angle Cameras: Using the specific camera device to lock the view and control the perspective.
- Variables: Storing data (like camera height) so you can tweak the effect without rebuilding the whole thing.
How It Works
The Psychology of the Low Angle
In film and game direction, a Low Angle is when the camera is positioned below the subject, pointing upward. Think about it: when you look up at a skyscraper, it looks massive. When you look up at a boss monster in a cutscene, they look terrifying or heroic. When you look at your friend from eye level, they're just... your friend.
By dropping our camera below the player's feet and aiming up, we distort perspective. The player's legs get closer to the lens, making them look taller and more imposing. It's the visual equivalent of giving someone a power-up.
The Scene Graph: Who's in Charge?
In UEFN (Unreal Editor for Fortnite), everything exists in a Scene Graph. If you've ever organized your inventory or sorted your loot by rarity, you already get it. The Scene Graph is just a family tree of all the objects in your level.
- Parent/Child Relationship: If you move a "Parent" object, all its "Children" move with it.
- Why this matters for cameras: We need a Fixed Angle Camera (the device that shows the player what they see) to be controlled by a script. In the Scene Graph, our script will act as the "parent" controller, telling the camera where to look.
The Device: Fixed Angle Camera
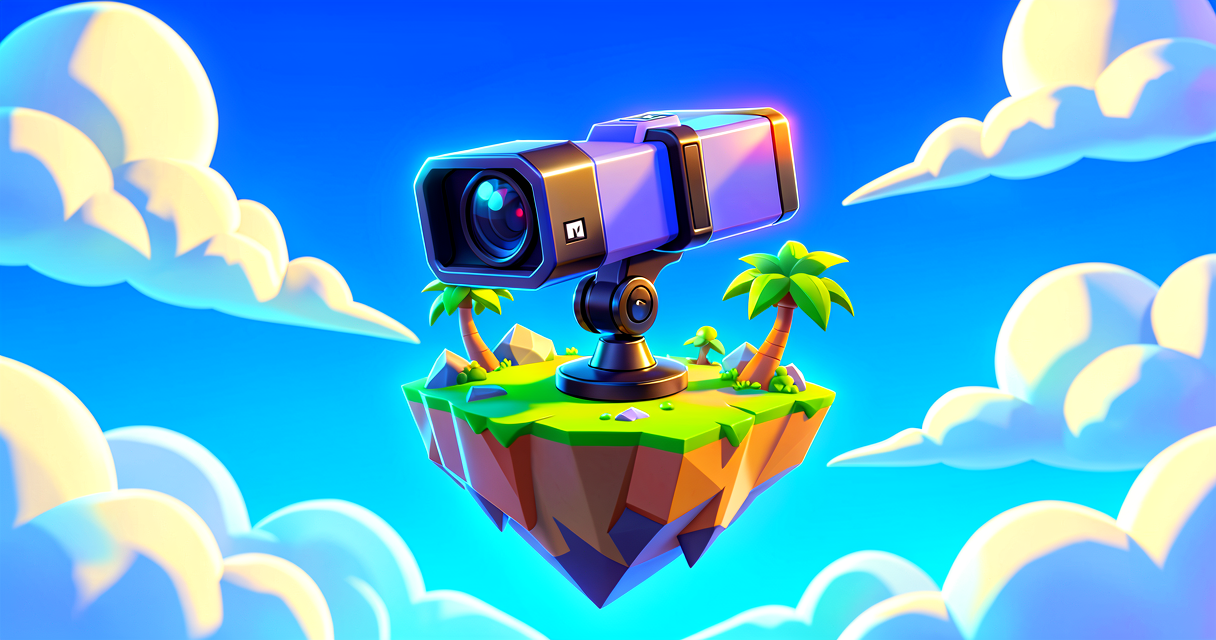
This isn't your standard free-roam camera. A Fixed Angle Camera is locked to a specific spot and rotation. It's like a security camera or a movie tripod. We use it here because we want to force the cinematic look. We don't want the player to look down at their shoes; we want them to feel the low-angle power trip.
Let's Build It
We are going to create a simple script that activates when a player spawns. The script will tell a Fixed Angle Camera to look up at the player.
Prerequisites:
- Place a Fixed Angle Camera in your level.
- Place a Player Spawn device.
- Add a Verse Script component to your Player Spawn device (or create a new Verse Script asset and attach it).
Here is the code. Don't panic if it looks like alien language; we'll break it down line-by-line.
# Import the core Verse tools we need
using { /Verse.org/Verse }
using { /Verse.org/Simulation }
using { /UnrealEngine.com/Temporary/SpatialMath }
using { /Fortnite.com/Devices }
using { /Fortnite.com/Game }
using { /Fortnite.com/Characters }

# This is our main "Actor" - think of it as the container for our logic.
# It's like the Battle Bus that holds all the rules for this specific game mode.
# creative_device is the real base class for Verse scripts placed in a UEFN level.
hero_angle_script := class(creative_device):

    # A VARIABLE is a container that holds a value that can change.
    # Think of it like a loot drop: it might be a shield potion, a shotgun, or nothing.
    # Here, we store the camera device so our script knows WHICH camera to control.
    # Drag your placed Fixed Angle Camera into this slot in the Details panel.
    @editable
    CameraDevice : gameplay_camera_fixed_angle_device = gameplay_camera_fixed_angle_device{}

    # A FUNCTION is a set of instructions the computer follows.
    # Think of it like a Trap (e.g., a Spiky Trap). You trigger it, and it does a specific thing.
    # Our function "LookUpAtPlayer" will run when someone spawns.
    LookUpAtPlayer(Plr : player) : void =
        # 'Plr' is the player who just spawned.
        # We need to find where they are in the world.
        # GetFortCharacter() gives us the in-world pawn for this player.
        if (FortChar := Plr.GetFortCharacter[]):
            # GetTransform() returns position, rotation, and scale together.
            PlayerTransform := FortChar.GetTransform()
            PlayerLocation  := PlayerTransform.Translation

            # Here is the magic: We adjust the camera's position.
            # To get a LOW ANGLE, we need the camera to be BELOW the player.
            # We take the player's Z (height) and subtract 100cm.
            # This drops the camera down, forcing it to look UP.
            NewCameraPos := vector3:
                X := PlayerLocation.X
                Y := PlayerLocation.Y
                Z := PlayerLocation.Z - 100.0

            # Finally, we activate the camera for this player so they see the hero view.
            # note: gameplay_camera_fixed_angle_device exposes AddTo(agent) to switch
            # a specific player's view to this camera.
            # SetActorLocation is not available on gameplay_camera_fixed_angle_device,
            # so we simply activate the camera for this player.
            CameraDevice.AddTo(Plr)

    # This is an EVENT.
    # Think of it like a Trigger Volume. Something happens (Player Spawns),
    # and our code reacts.
    # OnBegin runs automatically when the game session starts.
    OnBegin<override>()<suspends> : void =
        # GetPlayspace() gives us access to all players currently in the session.
        AllPlayers := GetPlayspace().GetPlayers()

        # Loop over every player who is present at the start of the round.
        for (Plr : AllPlayers):
            # Once we have a player, we call our function!
            # It's like ringing the dinner bell.
            LookUpAtPlayer(Plr)```

### Walkthrough: What Just Happened?

1.  **`CameraDevice : fixed_angle_camera_device = fixed_angle_camera_device{}`**
    We created a variable to hold our camera. In the UEFN editor, you'll need to drag your actual Fixed Angle Camera device into this slot in the Verse Script's properties panel. It's like plugging a controller into the console. The `@editable` tag is what makes that slot appear in the Details panel.

2.  **`LookUpAtPlayer` Function**
    This is the brain. It grabs the player's pawn with `GetFortCharacter[]` (the `[]` means the call can fail, so we wrap it in an `if` to stay safe). Then it reads the pawn's position from `GetTransform().Translation`. After that, it builds a new `vector3` for the camera — same X and Y as the player, but 100 cm lower on the Z-axis. Since the camera is now below the player, it naturally looks *up* at them.

3.  **`OnBegin` Event**
    This is the trigger. As soon as the game session begins, `OnBegin` fires. We ask `GetPlayspace().GetPlayers()` for every player currently in the lobby, loop over them, and run `LookUpAtPlayer` for each one so everyone gets their hero moment.

## Try It Yourself

**The Challenge:**
The current code drops the camera 100cm down. That's good for a standard hero shot, but what if you want a *super* dramatic, almost spider-man-from-the-ground view?

1.  Find the line: `Z := PlayerLocation.Z - 100.0`
2.  Change the `100.0` to a larger number, like `200.0` or `300.0`.
3.  Test it. Does the player look even more heroic? Or do they look like they're floating in the sky because the camera is too far down?

**Hint:**
If the camera gets *too* low, it might clip through the floor. Try adding a check to make sure the camera stays above the ground level (Z > 0), or just keep your numbers between 50 and 150 for safe, cinematic results.

## Recap

*   **Low Angle:** Camera below the subject, looking up. Makes subjects look heroic, tall, or intimidating.
*   **Scene Graph:** The hierarchy of objects. Your script controls the camera device.
*   **Variables:** Containers for data (like storing the camera reference).
*   **Functions:** Reusable blocks of code (like a trap's logic).
*   **Events:** Triggers that start your code (like a player spawning).

Go make your players feel like the main character. And if they don't, just blame the storm timer.

## References

*   https://dev.epicgames.com/documentation/en-us/uefn/making-cinematics-1-composition-techniques-in-unreal-editor-for-fortnite
*   https://dev.epicgames.com/documentation/en-us/fortnite/making-cinematics-1-composition-techniques-in-unreal-editor-for-fortnite
*   https://dev.epicgames.com/documentation/en-us/uefn/making-cinematics-3-camera-movement-and-framing-in-unreal-editor-for-fortnite
*   https://dev.epicgames.com/documentation/en-us/fortnite/making-cinematics-3-camera-movement-and-framing-in-unreal-editor-for-fortnite
*   https://dev.epicgames.com/documentation/en-us/fortnite/using-fixed-angle-camera-devices-in-fortnite-creative
Verse source files
- 01-device.verse · device
Turn this into a guided course
Add Low Angle to your free study plan — we'll suggest related pages and stitch the lot into one compile-checked, self-guided lesson with worked examples and quizzes.
Original tutorial generated by Verse Island from the Verse/UEFN knowledge base, with references to the Epic Games sources above. Code is validated against the knowledge base.