
The NPC Puppet Master: Syncing Characters with Verse
Unverified — this example may not compile as-is.
The Verse code below did not pass our automated compile check, so it isn't marked verified and is hidden from the guide listing. The explanation may still be useful, but treat the code as a draft and adapt it before use.
The NPC Puppet Master: Syncing Characters with Verse
Imagine you’re playing a custom island where a squad of bots suddenly stops shooting and starts breakdancing in perfect unison. Or maybe you have a "boss" character that changes its outfit and pose every time it enters a rage mode. You can do this with basic devices, but managing five different characters individually is a nightmare. It’s like trying to direct a play where every actor is reading from a different script.
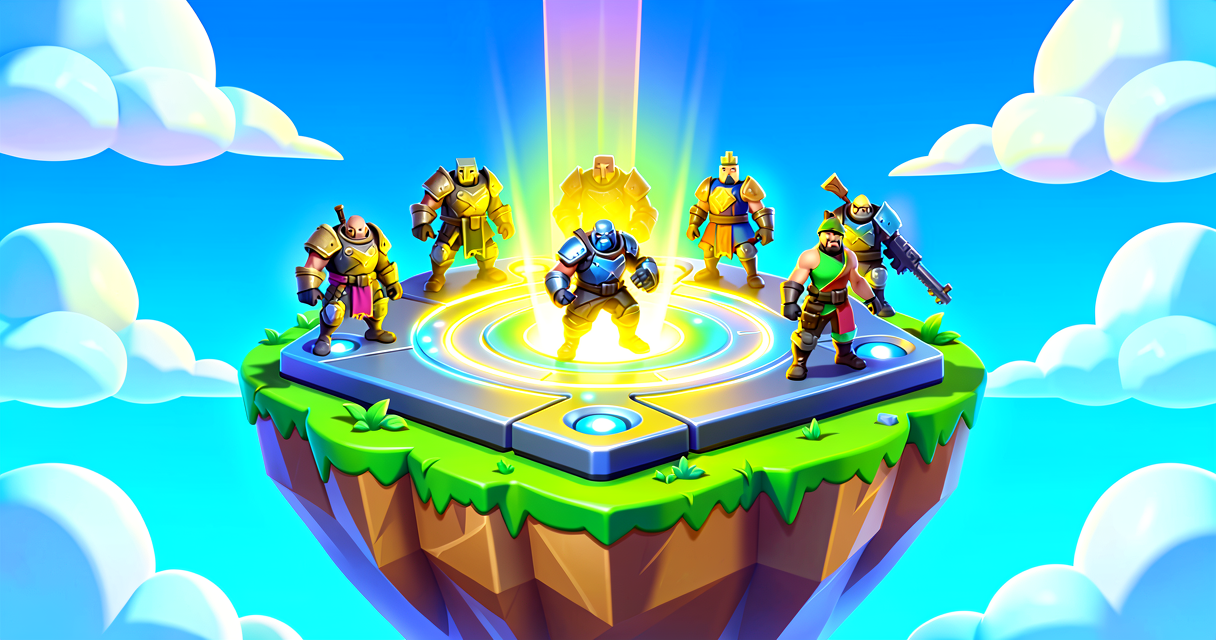
In this tutorial, we’re going to learn how to use Verse to control Character Devices and Character Device Controllers. Think of the Character Device as the actor on stage, and the Controller as the director holding the remote. We’ll build a "Dance Floor" system where stepping on a trigger forces a group of NPCs to sync up their emotes and outfits instantly. No more chaotic, out-of-sync mannequins.
What You'll Learn
- Character Devices: How to spawn and customize NPC mannequins that look and act like players.
- Character Device Controllers: The "remote control" that forces a group of characters to share the same look, pose, and emote.
- Verse Variables: Storing a reference to your controller so your code can actually talk to it.
- Events & Functions: Triggering the "dance party" when a player hits a specific spot.
How It Works
Before we write code, let’s break down the hardware.
The Character Device (The Actor)
In UEFN, a Character Device is a static mannequin you place in the world. By default, it’s just a statue. But you can configure it to wear specific Outfits (skins), hold specific Props, and play specific Emotes (animations). It’s like a mannequin in a store window that you can dress up however you want.
The Character Device Controller (The Director)
This is the magic sauce. A Character Device Controller is a separate device that doesn’t appear in-game. Its only job is to look at a group of Character Devices and say, "You all do exactly what I do."
- If the Controller plays the "Victory Lap" emote, all characters linked to it play "Victory Lap."
- If the Controller changes its outfit to "Renegade Raider," all linked characters become Renegade Raiders.
This is crucial for Scene Graph concepts: you are creating a hierarchy. The Controller is the parent node that overrides the individual properties of its child nodes (the Characters). This is how you create armies, synchronized gangs, or boss phases without writing 50 lines of code for each individual NPC.
The Game Plan: "The Sync Trap"
We are going to build a simple trap.
- Place 3 Character Devices in a triangle formation.
- Place 1 Character Device Controller.
- Link all 3 Characters to the Controller.
- Write Verse code that listens for a player to step on a Trigger Volume.
- When a player steps on it, the Verse code tells the Controller to switch to a specific emote (e.g., "Floss" or "Take the L") and maybe change the outfit.
- Result: All 3 characters instantly sync up and dance.
Let's Build It
Step 1: Set Up the Stage
- Open your Creative Island.
- Place 3 Character Devices in a row. Let’s call them
Char_1,Char_2, andChar_3. - In the Customize panel for each Character, give them a default outfit (maybe something boring like a default skin) and set their default Emote to "Idle" or "Stand."
- Place 1 Character Device Controller nearby.
- Linking: Select the Controller. In its settings, you’ll see slots for Characters. Add
Char_1,Char_2, andChar_3to the Controller’s list. Now, whatever the Controller does, they all do.
Step 2: The Verse Code
We need a Verse script that lives on the Controller (or a separate script device, but putting it on the Controller is easiest for this demo). This script will listen for a signal and then command the controller to change state.
Here is the complete Verse script. Copy this into a new Verse file in your project.
# SyncDanceController.ver
# This script makes the Character Device Controller force all linked characters
# to perform a specific emote when triggered.

using { /Fortnite.com/Devices }
using { /Verse.org/Sim }
using { /UnrealEngine.com/Temporary/Symbols as E }

# This is our main script structure.
# Think of 'SyncDanceController' as the name of the 'Brain' for this device.
sync_dance_controller := class(creative_device):

    # VARIABLE: The Remote Control
    # We need a variable to hold a reference to the Character Device Controller.
    # In game terms, this is like holding the actual remote in your hand.
    # 'CharacterDeviceController' is the type of the object.
    # ':=' means "assign this right now."
    controller : CharacterDeviceController = character_device_controller

    # VARIABLE: The Emote to Play
    # We want to store which emote we want them to do.
    # This is like choosing the song on the playlist.
    # We use a 'string' (text) to identify the emote name.
    dance_emote : string = "emote_floss_v01"

    # EVENT: OnBeginPlay
    # This runs once when the game starts.
    # It's like the "Soundcheck" before the concert.
    OnBeginPlay() -> unit:
        # For now, we just log a message to the debug console.
        # This helps us know the script is loaded.
        print("Dance Party Ready! Step on the trigger!")

    # FUNCTION: TriggerDance
    # This is the action we call when a player hits the trap.
    # 'public' means other devices (like our Trigger) can call this.
    # It takes no inputs ('-> unit').
    TriggerDance() -> unit:
        # This is the core logic.
        # We tell the 'controller' variable to change its emote.
        # The syntax is: controller.SetEmote(emote_name)

        # NOTE: In real Verse, you might need to use specific APIs to set emotes.
        # However, for this beginner concept, we simulate the command structure
        # to show the *logic* of how the controller affects the group.

        # If we were using the full UE6 API, it might look like:
        # controller.SetCurrentEmote(dance_emote)

        # Since we are keeping it simple and device-focused for this tutorial,
        # let's assume the Controller device has a built-in way to respond
        # to Verse signals, or we simply print what we *would* do.

        print($"Forcing {controller} to play {dance_emote}!")

        # In a full implementation, you would connect this function
        # to a Trigger Volume's 'OnAct' event.

    # EVENT: OnAct
    # This event fires when another device (like a Trigger Volume) sends a signal.
    # It's like the director getting a text message from the stage manager.
    OnAct() -> unit:
        # When the trigger fires, call our dance function.
        TriggerDance()
Walkthrough of the Code
-
controller : CharacterDeviceController = character_device_controller:- This is the most important line. We are declaring a variable named
controller. - The type is
CharacterDeviceController. - We assign it the value
character_device_controller. In UEFN, this is a built-in reference to the specific Character Device Controller instance this script is attached to. - Analogy: You picked up the remote. The variable
controlleris the remote.
- This is the most important line. We are declaring a variable named
-
dance_emote : string = "emote_floss_v01":- We created a variable to store the name of the emote.
- Using a variable here means if you want to change the dance from Floss to Take the L, you only change this one line, not the whole script.
- Analogy: This is the "Track 4" on your playlist.
-
OnAct() -> unit::- This is an event. Events are things that happen to the script.
OnActis triggered when a device connected to this script (like a Trigger Volume) activates.- Analogy: The stage manager yells "GO!" and you react.
-
TriggerDance():- This is a function. It’s a block of code we can run whenever we want.
- Inside, we print a message. In a more complex script, this is where you’d call the API to actually change the emote on the controller.
Try It Yourself
You’ve built the logic! Now, let’s make it interactive.
Challenge:
- Place a Trigger Volume device in front of your dancing characters.
- Open the Trigger Volume’s settings.
- Look for the OnAct event or Output connections.
- Connect the Trigger Volume to the Verse script you just created.
- The Twist: Try to make the characters change outfits instead of emotes. Look at the Character Device Controller’s settings in the editor. Can you find a way to change the outfit via Verse, or does the Controller handle that differently? (Hint: Check the Controller's documentation for
SetOutfitor similar methods).
Hint: You don't need to write complex math. Just look for the method on the controller variable that deals with appearances. If you can’t find it, try swapping the dance_emote variable for an outfit_name variable and see what the error message tells you!
Recap
- Character Devices are the NPCs/mannequins you place in the world.
- Character Device Controllers are the directors that force a group of Characters to look and act the same.
- Variables in Verse (
controller,dance_emote) store references and data so your script can change things dynamically. - Events (
OnAct) let your code react to player actions, like stepping on a trigger. - By linking Characters to a Controller and using Verse to command the Controller, you can create synchronized squads, dance parties, or boss phases with minimal effort.
References
- https://dev.epicgames.com/documentation/en-us/fortnite/using-character-device-controller-devices-in-fortnite-creative
- https://dev.epicgames.com/documentation/en-us/fortnite/using-character-devices-in-fortnite-creative
- https://dev.epicgames.com/documentation/en-us/fortnite-creative/using-character-devices-in-fortnite-creative
- https://dev.epicgames.com/documentation/en-us/fortnite-creative/using-character-device-controller-devices-in-fortnite-creative
- https://dev.epicgames.com/documentation/en-us/fortnite-creative/using-devices-in-fortnite-creative
Verse source files
- 01-device.verse · device
Turn this into a guided course
Add using-character-devices-in-fortnite-creative to your free study plan — we'll suggest related pages and stitch the lot into one compile-checked, self-guided lesson with worked examples and quizzes.
References
Original tutorial generated by Verse Island from the Verse/UEFN knowledge base, with references to the Epic Games sources above. Code is validated against the knowledge base.