
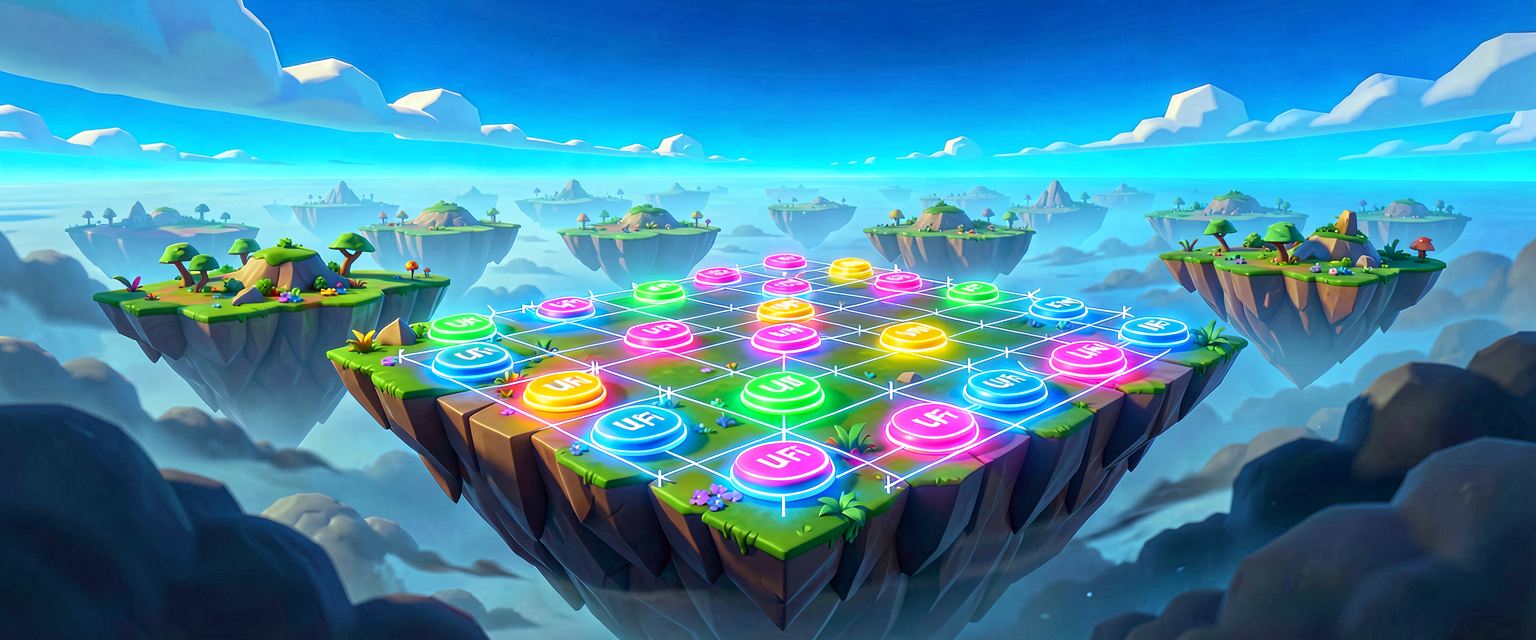
Build Dynamic UI Grids with Verse
What you'll learn
In this guide you will build a creative_device that generates a clickable button grid entirely in Verse — no dragging widgets around the editor. You'll learn the real widget-building APIs (canvas, stack_box, button_loud, text_block), how to add a widget tree to a player's screen with GetPlayerUI[] and AddWidget, and how to wire a click handler to every button you generate. Change two numbers (RowCount, ColumnCount) and the loops rebuild the whole grid.
How it works
A Verse UI is a tree of widgets. The leaves are things you can see — a button_loud or a text_block. Containers arrange them: a stack_box lines its children up in a row or column, and a canvas pins a widget to a spot on the screen. Nothing is visible until you hand the root widget to a player's player_ui and call AddWidget.
To make a grid "dynamic" we don't place buttons by hand. We loop over rows and columns, create one button_loud per cell, and drop each button into a horizontal stack_box for its row. Then we stack those row boxes vertically and wrap them in a canvas. Because the layout is driven by the loops, bumping RowCount or ColumnCount regenerates everything — that's the whole point of building UI in code.
The last piece is interactivity. A button_loud exposes OnClick(), a listenable you can Await(). We spawn one small task per button that loops forever awaiting its own click and updates a status text_block. Without this step the grid would render but do nothing — a common trap where code "compiles green" yet produces an empty shell.
This pattern is adapted from our shipping voting UI (
Scripts/UISystem/minigame_vote_ui.verse), which builds rows ofbutton_loudwidgets instack_boxrows inside acanvas, adds them withGetPlayerUI[].AddWidget, and handles each button viaOnClick().Await().
Let's build it
Add a Verse device called grid_button_device, drop it in your level, and (optionally) hook a Trigger Device to its ShowGridTrigger property. When the trigger fires (or immediately, if you leave it unset) every player gets a freshly generated grid.
The key moves:
- Generate: nested
forloops create onebutton_loudper(Row, Col)and stash it in agrid_cellstruct so we remember its coordinate. - Lay out:
MakeGridbuilds one horizontalstack_boxper row, adds each button withAddWidget(stack_box_slot{...}), stacks the rows in a verticalstack_box, and pins the result with acanvas_slot. - Show:
GetPlayerUI[FortPlayer].AddWidget(GridWidget, player_ui_slot{ InputMode := ui_input_mode.All })puts it on screen and lets the buttons take input. - React: one
spawn{ HandleButtonClicks(Cell) }per button awaitsOnClick()and callsStatusText.SetText(...).
Note that widget text is a message, not a string — so we declare <localizes> message functions (CellLabel, ClickedLabel) for the interpolated labels, which is how the Verse UI APIs expect text.
Try it yourself
- Add the
grid_button_deviceto your project and place it in the level. - Launch a session — every player sees a 3×4 grid of buttons appear near the top of the screen with a "Click a button..." label.
- Click any button; the label updates to "Clicked RxCy!" and a line prints to the log.
- Change
RowCountandColumnCounton the device, rebuild, and watch a completely different grid generate — no layout edits needed. - (Optional) Hook a Trigger Device to
ShowGridTriggerso the grid only appears when the trigger fires.
Recap
You generated a real, on-screen UI entirely in Verse: nested loops created the buttons, stack_box rows inside a canvas arranged them into a grid, GetPlayerUI[].AddWidget put the tree on the player's screen, and per-button OnClick().Await() tasks made it interactive. Because the layout is loop-driven, resizing the grid is a one-line change — the scalable payoff of building UI in code instead of by hand.
Get the complete code — free
You've read the full walkthrough. The complete, copy-paste-ready Verse solution is free for members — sign in to unlock it.
Free with your BrainDead.TV / BrainDeadGuild Discord account. The walkthrough above is always free.
Verse source files
- 01-device.verse · device
Check your understanding
Test yourself with an interactive quiz and track your progress + earn XP — free for members.
Turn this into a guided course
Add Dynamically Generating UI Button Grids in Verse to your free study plan — we'll suggest related pages and stitch the lot into one compile-checked, self-guided lesson with worked examples and quizzes.
Original tutorial generated by Verse Island from the Verse/UEFN knowledge base, with references to the Epic Games sources above. Code is validated against the knowledge base.